
Gift Idea: DIY Lego Clock

Swooping in to share another super quick and easy gift idea. This is going to be a very fast read.
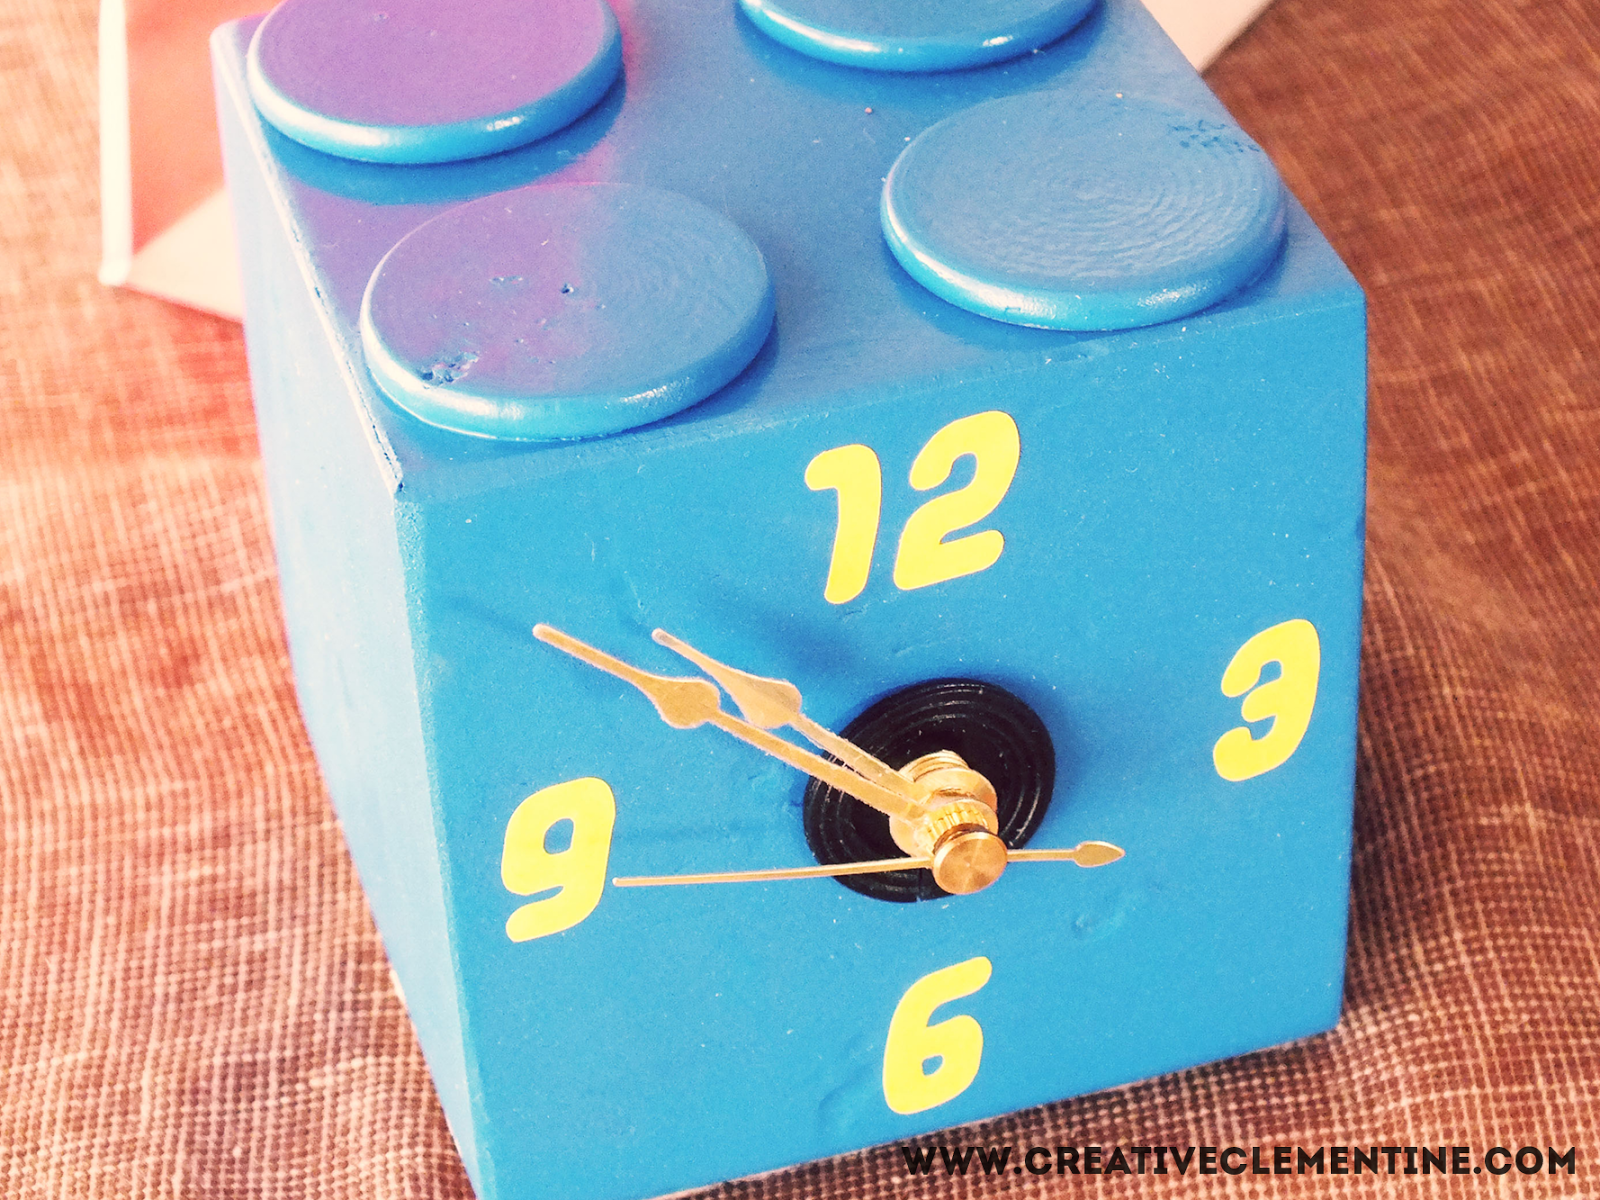
Since the Lego movie came out this year, the lego clock I made for my step sister a couple years ago is suddenly relevant again... YAY!
With apologies in advance for the utter lack of step-by-step photos, here is how to make a quick and whimsical lego clock.
DIY Lego Clock
Materials required:
Materials required:
- Hollow wooden cube (Wood section at Michaels/craft stores)
- 4 small wooden circle discs (Wood section at Michaels/craft stores)
- Small clock kit (and batteries)
- Paint in choice of lego colour (acrylic or spraypaint works)
- Number stickers in contrasting colour
- Hot glue
- Exacto knife
- Drill
Instructions:
- Use the exacto knife to cut out one side of the cube.
- Paint the cube and circle discs.
- Following the package instructions, install the clock kit on the side opposite the open side on the cube. (This is where you may need to use the drill)
- Glue the circles to the top of the cube.
- Add the number stickers.


2 comments
This is so clever! Did you see that I put it in a round up of DIY gift ideas!? Love it! Thanks for linking up at Totally Terrific Tuesday!
ReplyDeleteJess @liverandomlysimple
Ahh! I didn't see it, but I will look now!! Thanks for sharing, and happy new year!
DeleteThank you for your comments! I love reading them all and will reply when I can.
xo♥clem